Jack Comments:
Let me start by noting the time of John Fry's post... 1:20 AM.
John didn't sleep, and neither did I as we were both excited
about doing a jont project, learning and sharing, and just
plain showing off trying to out do one another.
The concept of this project evolved over a period of a
couple of months of email correspondence, discussing
photos of Krenov's and Maloof's prior work, desired effect,
etc.
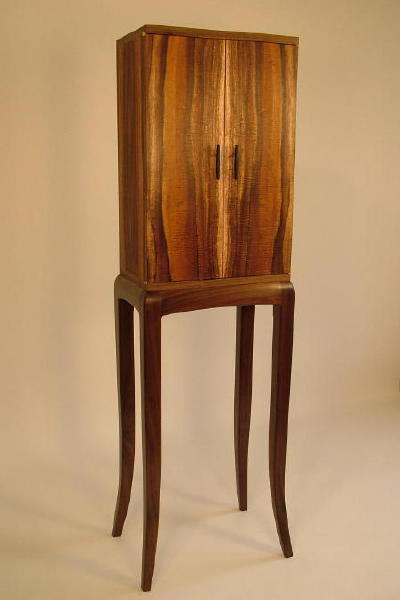
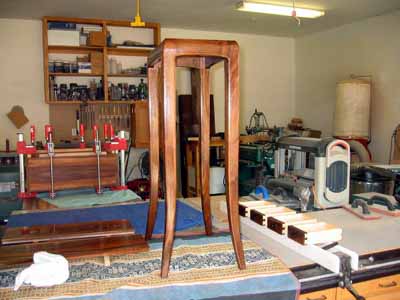
We jointly agreed that marrying Krenov's rectilinear chest
on stand concept with Maloof's sculpted look on the stand
would produce an awesome piece.
Our design, however, was mostly on-the-fly using preliminary
sketches, as we let the wood dictate our layouts, dimensions,
etc.
There are pitfalls with this design approach and we made our
share of mistakes, but quickly recovered.
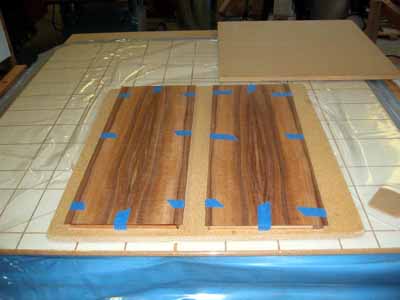
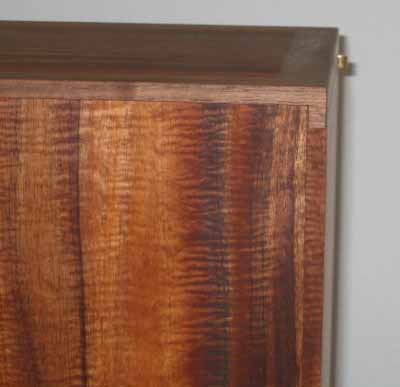
We both thought the Walnut would look great as a compliment
to the curly Koa with its varigated coloring and fabulous
figure, along with the maple interior.
John bought a 16/4 slab of walnut for making the legs, and
wouldn't you know that the monster slab had some decent crotch
figure (to be resawn and used on a future project).
The curly Koa was left over from one of John's previous
projects... so this piece became part of an ensemble.
We wound up with a bunch of sawdust and a couple of pounds
of scraps upon completion.
No sense wasting good wood.
We believed that the case would look best if proportioned
to the Golden Ratio, and the stand should be about 33" tall.
The dimensions of the case are nominally 16" x 25" x 10".
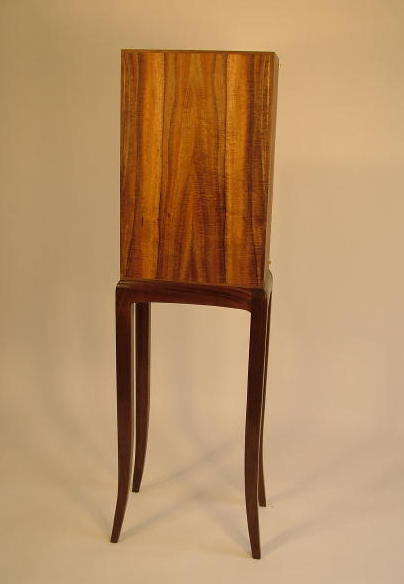
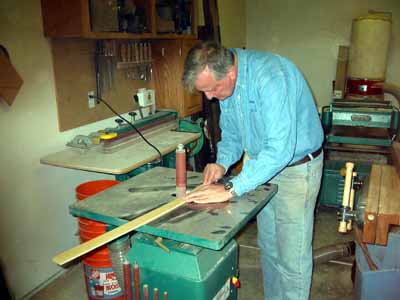
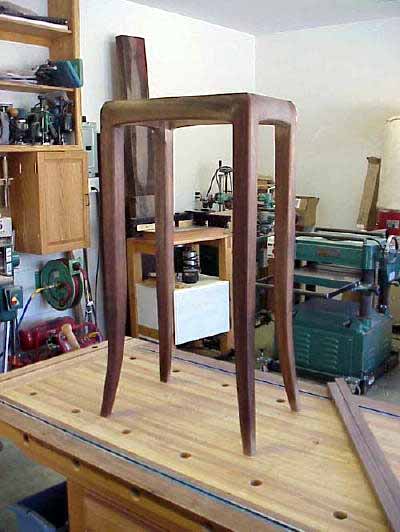
The legs were designed free form.
We just laid out the curvature, looked at it, tweaked it
and cut a template out of 1/4" MDF, then proceeded to mill
the rift sawn portions of 16/4 Walnut stock for best visual
appeal and strength.
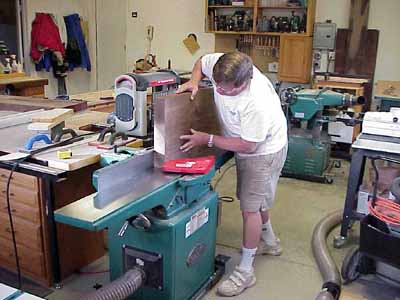
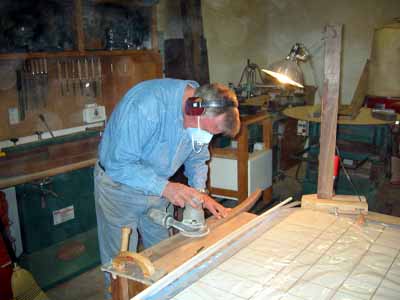
After bandsawing the blanks they were then block planed
and sanded to final size.
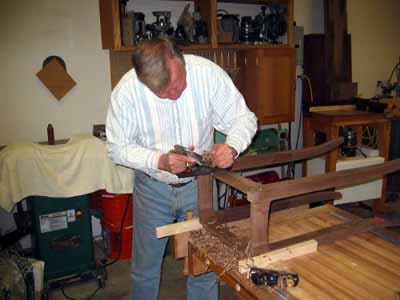
Since the legs have a three dimensional profile pattern
routing was ruled out thereby necessitating lots of hand
tool work.
We used the cut-offs for the stand aprons for best color
and grain match.
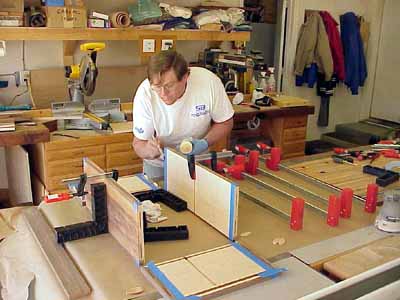
After milling the mortise & tenons on the squared up
stock using the Leigh FMT the stand was glued up and
allowed to cure overnite.
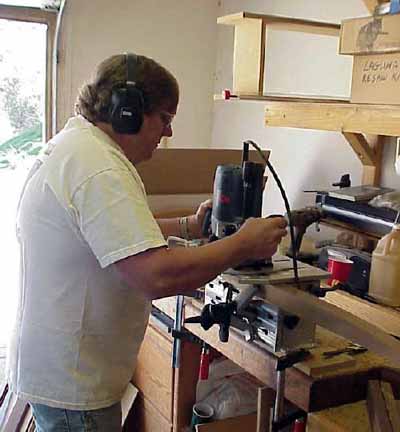
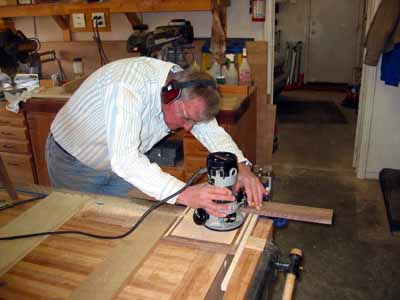
The stand was then securely clamped onto the workbench,
legs rounded over using a trim router, and the top
profile was sculpted using a block plane until it looked
"right".
A small piece of 1/4" MDF was used as a template for
reproducing the profile on adjacent sides.
Another template was made for the apron bottom profile
by eyeballing until it looked "right", yielding a
curved apron faired into the legs.
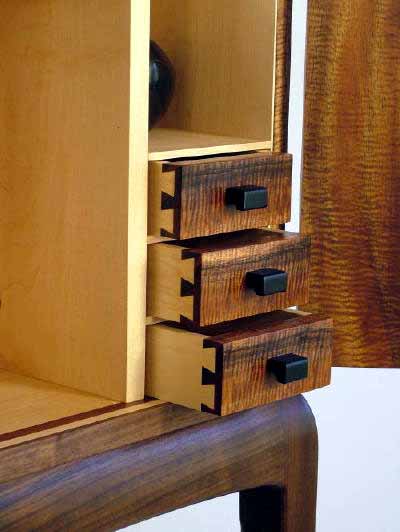
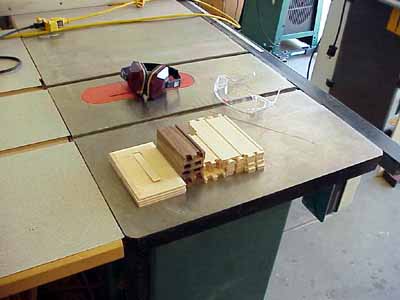
Drawers were made of 3/8" Maple with a solid 1/4" bottom.
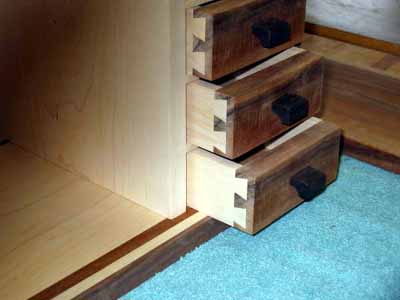
Drawers were designed with half-blind dovetails on the
front and through dovetails on the back.
The solid bottom is trapped in 1/8" grooves.
All surfaces were power and hand sanded to 200 grit and
finished with four coats of Minwax Tung Oil Finish to
produce a silky smooth semi gloss sheen.
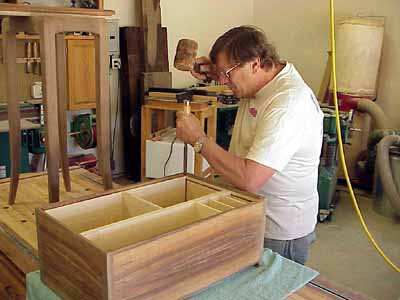
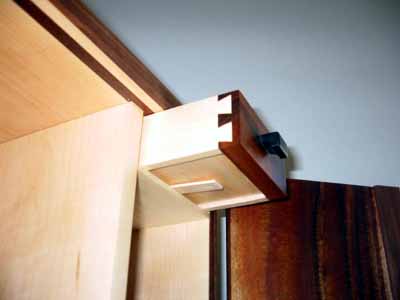
Neither of us had previously used knife hinges, but
these are prefect for this chest on stand design.
It turns out that the hinges require ultra precise
positioning for best fit.
Note the 1/32" reveal around the doors, and 1/16" door
gap to allow for free swing.
The hinge mortises were routed using a home-made jig
designed for this purpose, but they still needed tweaking
for final fit of the doors.
Other fits were also ultra precise including a 1/64"
reveal around the drawers.
They really feel slick, especially the top drawer with
the trick lock.
The snap of the lock upon closing the door is very
satisfying.
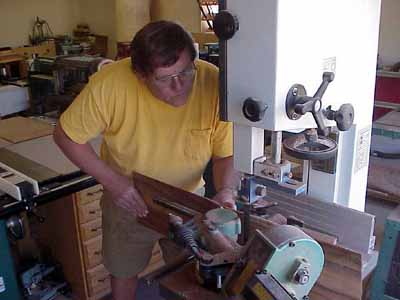
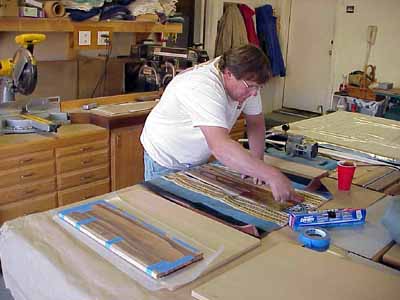
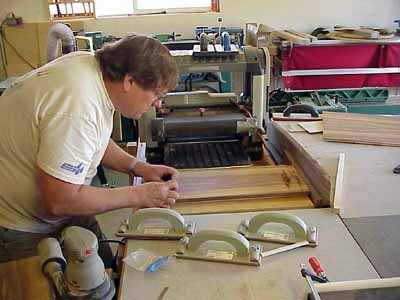
I also have a Craftsman radial arm saw and find it
useful for crosscutting rough lumber, especially the
thick stuff.
The small table and thin kerf blades on compound miter
saws are not designed for this task, nor could you use
a miter saw with dado blades.
The radial arm saw excels in the latter task.
We both use slide miter saws for sneaking up on final
cuts with smooth edges that are hard to obtain with
the radial arm saw.
If you noted the leg curvature it is in three dimensions.
In order to gain the maximum curvature consistent with
the design John purchased the 12/4 slab in LA to meet
our requirements.
Cost was around $8 per bd ft...
but he got some nice crotch in the other end of that
booger.
It weighed a ton.
A glue up leg blank would have destroyed the value of
the piece.
It only costs a little more to go first class.
Designing and building this project was an intensely
enjoyable experience for both of us, and we both
learned a lot from it.
Thank you, John.
An encore is in order.
--------------------
Jack
The Walnut Guy
"If you are not leading the pack the scenery never changes."
|
Questions & Answers:
steveG,
Q:
Were the aprons flat, and standing proud of the
legs, after glue up?
A:
Yes.
The upper curve was cut and shaped into the top of the
four leg posts and the aprons glued in were flat stock.
The aprons were then shaped to the curve of the corner posts.
Jack left it all a bit wide so we could reshape to the
exact fit of the case bottom after it was completed.
Doug Wilkison
Q:
So are you guys going to saw it down the middle or what?
A:
No. Our deal was to "work for food", I supplied
all the material and supplies and the project is mine,
(actually my wife has already laid claim).
I came out way ahead 'cause Jack didn't really eat much.
When I go to his place the project will be his.
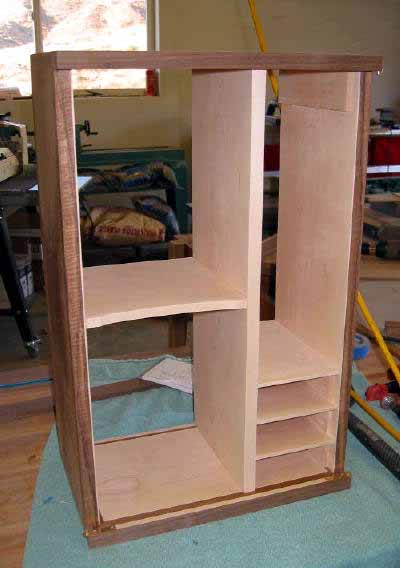
MMarzluf
Q:
I think the vertical divider in the cabinet looks
a tad heavy in comparrison to the shelves and horizontal
drawer dividers. (?)
A:
Yeah, you could be right Mark. A bit finer might have
looked better, but you've gotta admit we did pretty
good on design for a quick and dirty job. Plus we don't
have Sketchup!
Dave in Texas
Q:
Oh and inquiring minds want to know if you used the same
cameraman as David Marks?
A:
Naw! I have a photo studio that I put up and take down
for each shoot. I'm getting better though, huh?
paulcomi
Q:
I notice that you do a lot of veneering on all your
projects. Is that to keep the cost down or to spread
out the wood so that it ties together the piece with
consistency? Also, I noticed for the first time you
have both a RAS and miter saw set up. Any special
reason why?
A:
That Koa fiddleback Koa was $55.00 a board foot, and
I can cover a lot more more territory sawing it into
veneers.
Veneering allows more bookmatching possibilities, and
ways to accomodate for wood movement.
Veneering opens many doors.
BUT, go back through my projects and you'll see the
last three were solid wood. (I think?)
I use a RAS for cutting down all rough lumber.
You can through a twisted and crooked board on that
bench and not worry about it.
I also use it for big dados and half laps on timbers
or thick stock.
I don't really use it for anything else and this lets
me keep my 12" slider in perfect alignment,(yes it is
a slider).
Joe Lyddon
Q:
Did every drawer have a spring-lock?
A:
No! Just the top drawer is the one that can't be opened
without the "key" .
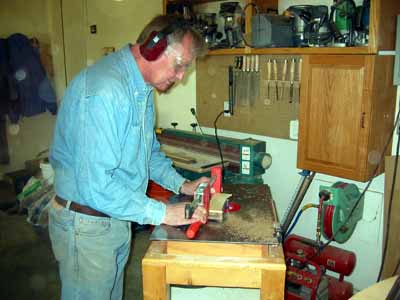
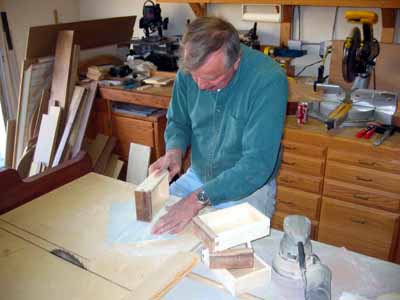
paulcomi
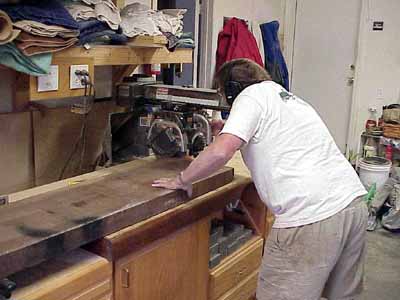
Q:
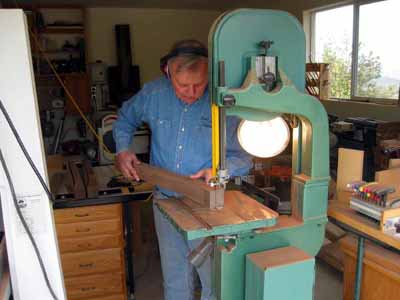
His looks like a non slider miter saw.(?)
A:
Paul, here is a different angle, look behind Jack's back.
It is 12" Dewalt 708 slider.
arch55
Q:
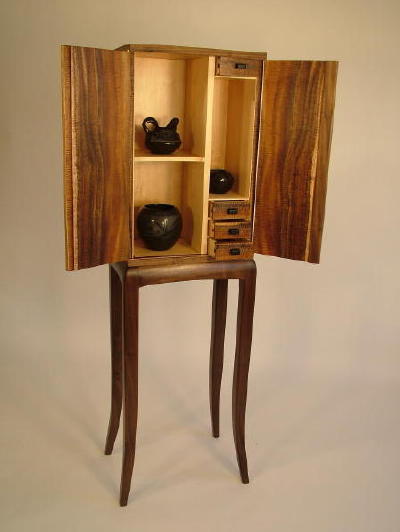
re: "The entire carcass is veneered. The inside is done in white maple."
In the cabinet interior, looking at the differences in thickness
of supports and cross-members, did you guys use plywood as your
veneer substrate in some cases and MDF in others?
If so, any tips you can give on what goes into that decision?
A:
The main cabinet members are 1/16" veneers on 5/8 MDF substrates,
resulting in the 3/4" thickness of all the main panels and doors.
The 1/2" horizontal shelf, and all the 1/4" drawer gallery
framework is solid maple with the grain running in the same direction.
We also used 1/2" plywood as a substrate for the back panel.
This was veneered on both faces with resawn bookmatched Maple and Koa.
A front-on view of the open cabinet shows a brighter Maple strip
down the center to complement the Koa sapwood on the cabinet doors.
John is a master on the "real veneer" process.
Note the mamu Laguna bandsaw equipped with a 1" carblde blade and a power feeder.
I need it. I want it. I gotta have it.
|