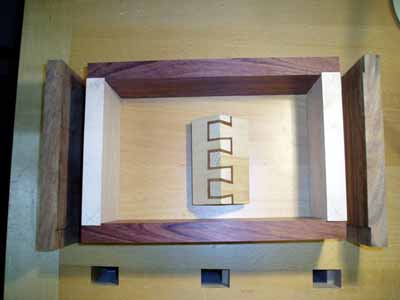
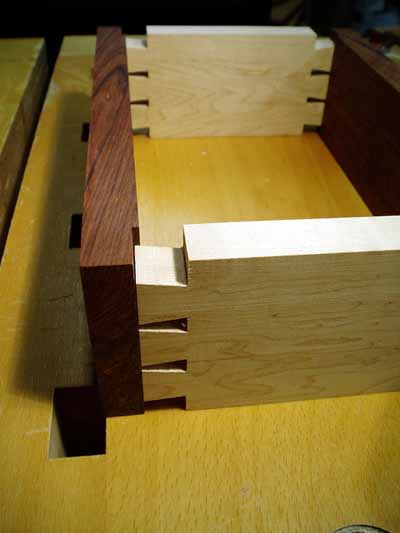
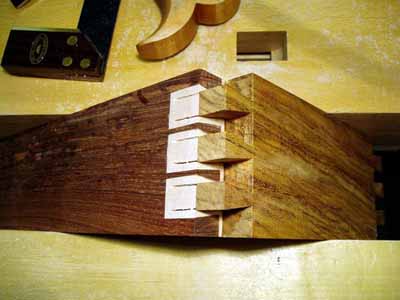
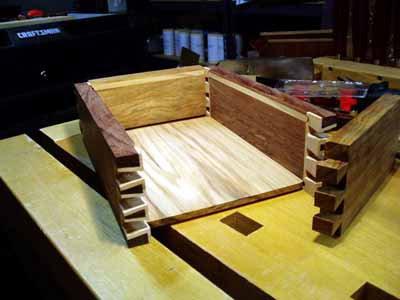
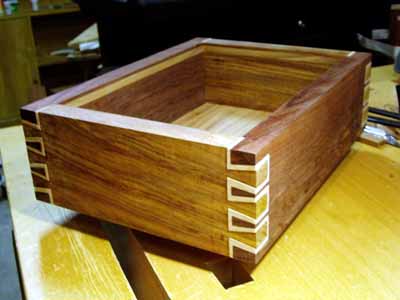
After admiring the double and double-double dovetail
joints that are capable with the Incra and other jigs,
I started thinking, "Why not try this by hand?"
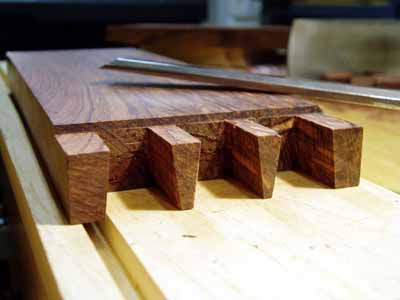
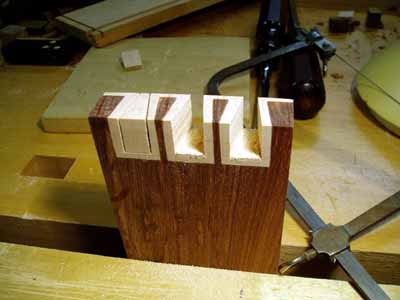
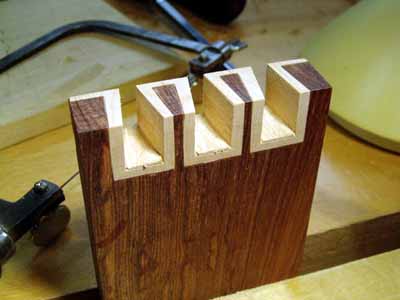
So this box is my first experiment with handcut double
dovetails.
It took me some time to figure out the joinery process,
but once I realized a few things about this type of joint,
it seemed do-able.
It was quite challenging but also a ton of fun.
It also does take some degree of patience and precision...
which I'm still working on.
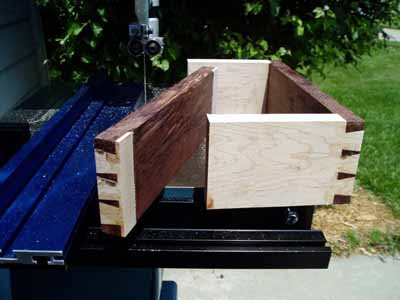
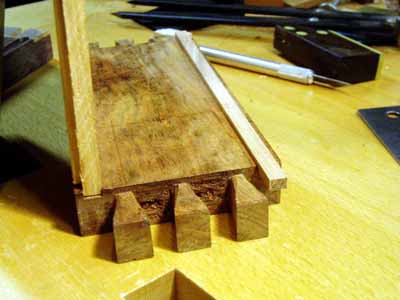
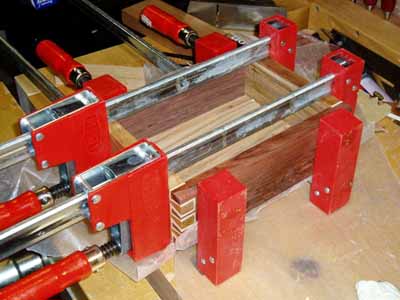
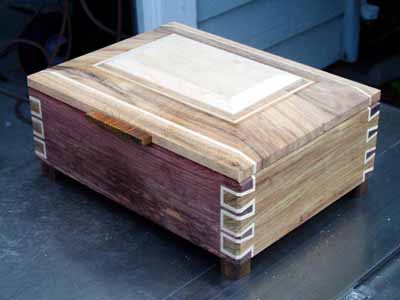
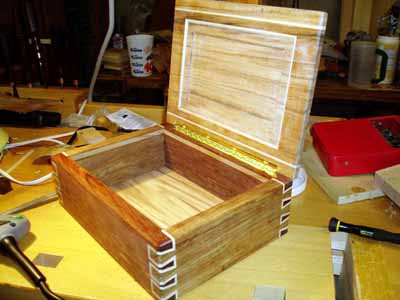
I'm focusing on the sides of the box, but here's a few
pictures of the nearly completed box -
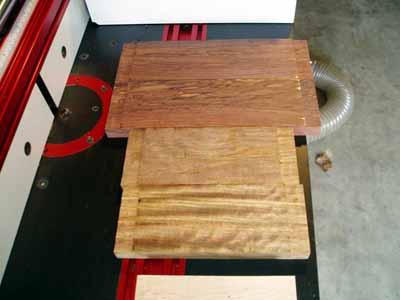
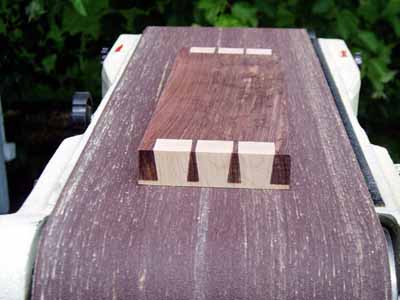
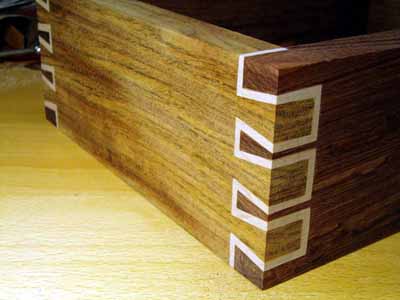
Materials.
For this box's sides I used three types of primary
contrasting woods, although there is no real reason to do so.
Two contrasting woods would work just as well.
The woods I chose are:
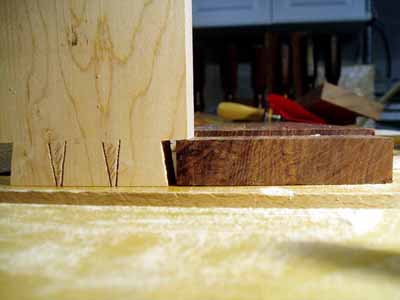
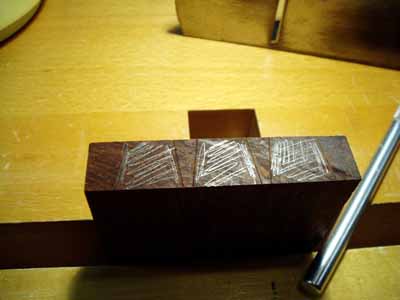
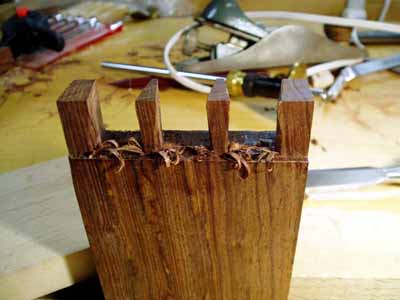
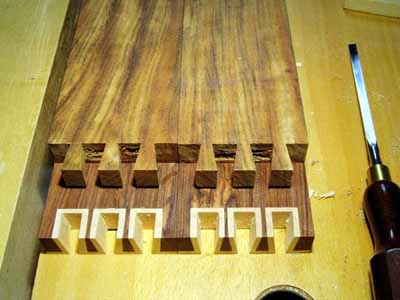
Honduras Rosewood - front and back.
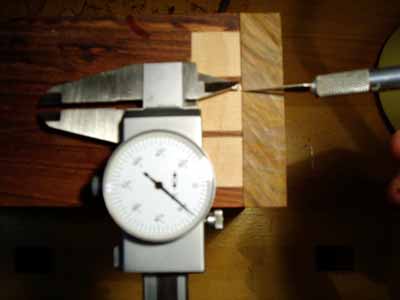
Quite hard and brittle.
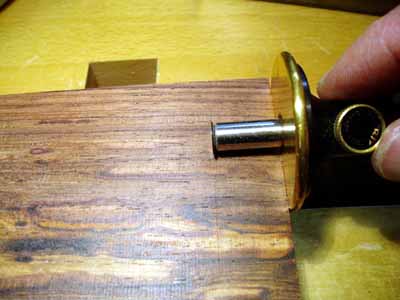
Chopping pins was a slow process with many trips back
to "Mr. Tormek" to regrind/hone.
But it's beauty made up for it.
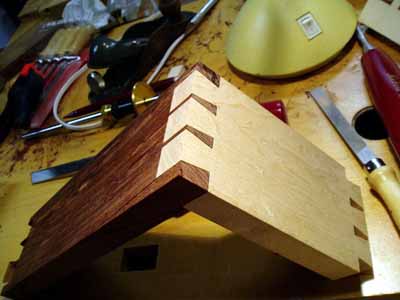
Caribbean Rosewood - sides.
This wood is very close grained, although very hard,
it's not quite as hard as the Honduras variety,
and not as brittle.
Has some "florescence" when changing the viewing angle.
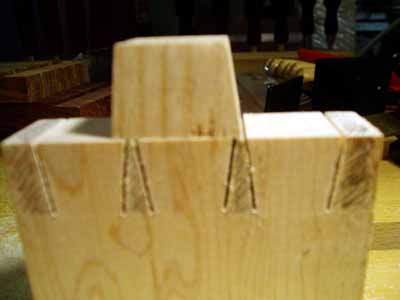
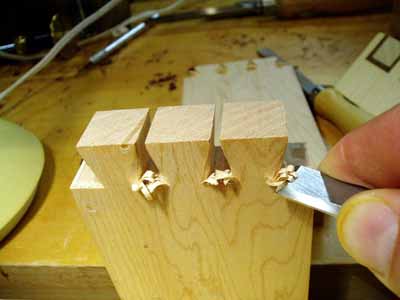
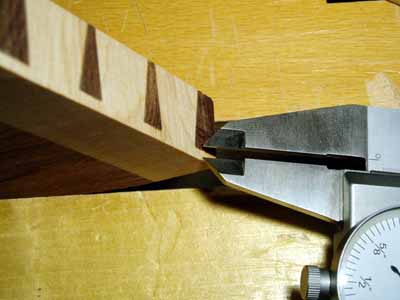
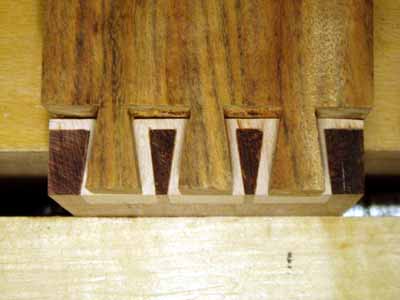
Birdseye Maple - inlay (the first dovetails).
It's really pointless to use birdseye in this application,
but it's what I had handy at the time.
Regular hard maple would probably work better, maybe even
holly.
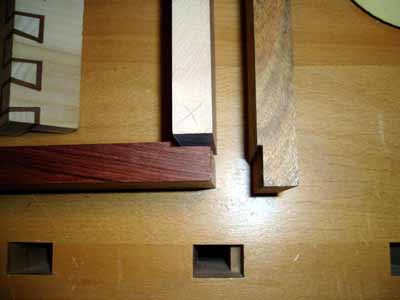
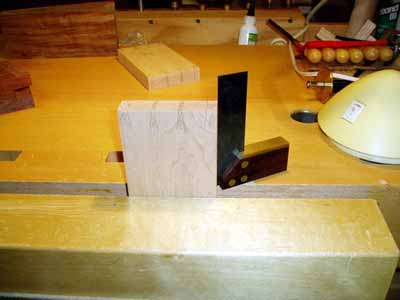
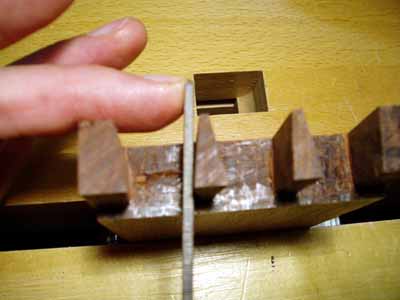
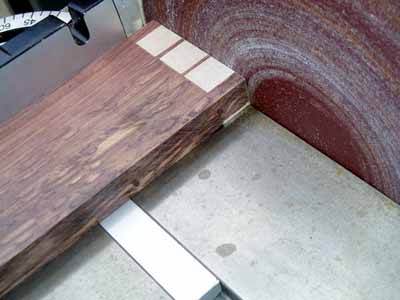
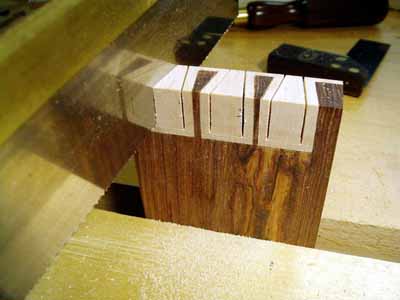
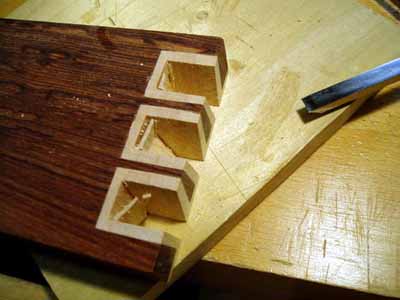
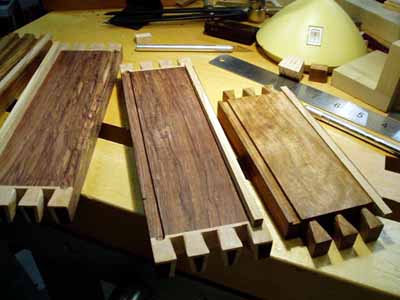
Construction Keys.
The things I found key when constructing a box like this are:
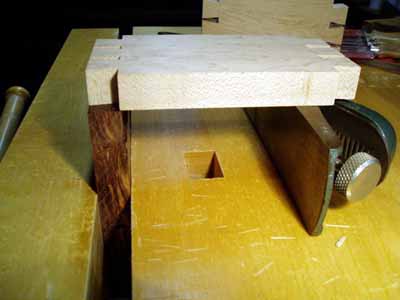
1) Each side of the box receives a rabbet cut on the inside of
each end.
2) The width of the rabbet equals the width of the side to be
joined into it.
3) The depth of the rabbet equals the thickness of the initial
(or "inlaid") dovetail - maple in this case.
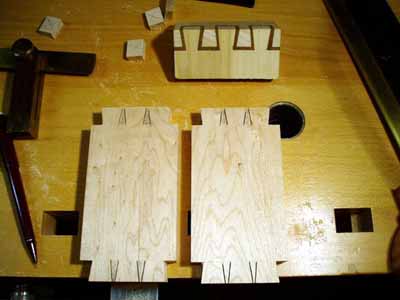
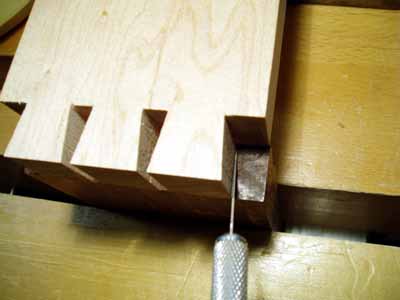
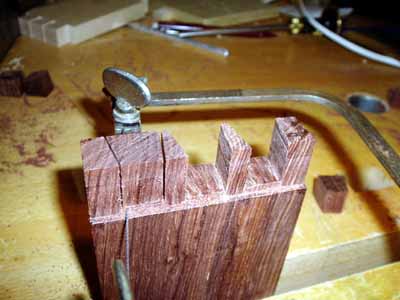
4) You actually build the box frame (sides) twice, cutting the
box apart leaving the first set of dovetails, then
cutting dovetails within dovetails.
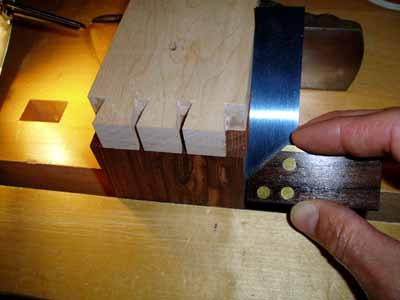
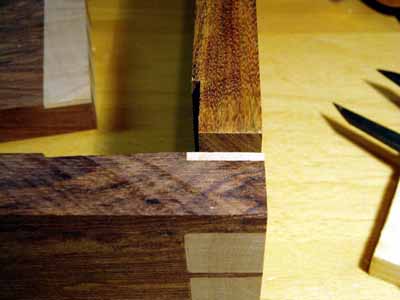
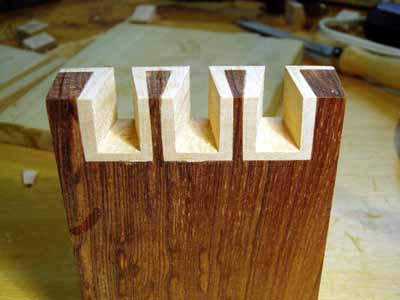
5) When doing so it's imperative that all the dovetails use
precisely the same angle…all the time.
To the degree they are not, the inlaid lines (maple
in this case) will not be a consistent width, thus
detracting from the overall appearance.
You can see some of that in my try here.
|
|
|