TJRON. . . Continued...
The boxes were designed by me.
The one Bob is interested in came from a box I saw in a box book.
It was so simple I made a couple. The guy made the box
with box joints. This left enough "meat" at the joints
that you could cut the corners round on a band saw and still
have a strong box. Fixing the lid so it wouldn't fall
off didn't prove to be so easy.
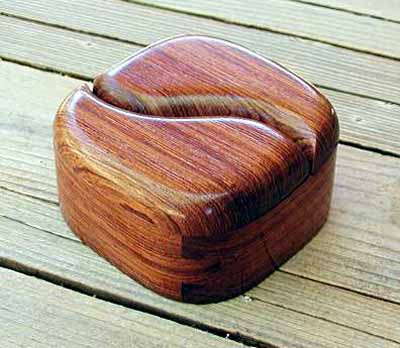
I liked the box joint idea. At the same time my brother
asked me to make a couple boxes he could put dollars in for his
kids. I used the box joint method to make the above oak
dollar boxes. They were fun to make so I added a "tricky
catch" and made a few more. The nicest one was made from
curly maple but I forgot to take a picture of it before I gave
it away. Here's one I made from padauk.
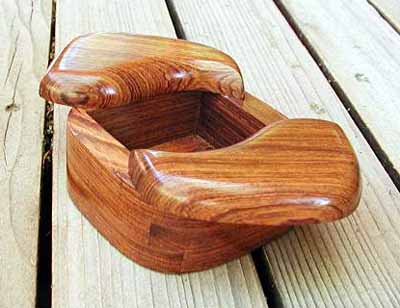
You have to push (from the rear) on the small maple segment on
the right to open it. It also has a false bottom.
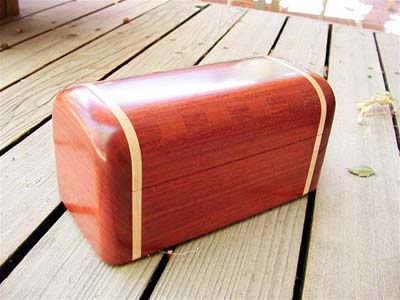
The box (without the catch) is fairly simple to make.
Make a box with box joints and 3/4" lumber.
Add the 1/4" trim pieces to the box.
Cut the corners round on a band saw and sand smooth.
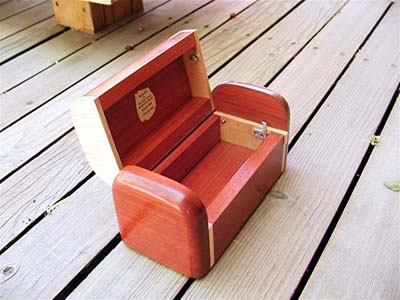
Cut the lid off with a band saw.
Cut the 3/4" side pieces to fit.
The lid uses cut off nails for hinges.
Drill holes in the lid and the side piece for the nail hinges
and glue it all up at one time.
To get the holes aligned right I made a small template that
can be used on the right and left sides by poking the nail in
from either the right or left side of the template.
Some relief has to be cut in the back of the lid for it to open.
The farther the nail hinge is inset, the more relief that will
have to be cut.
Have Fun!
Ron
|
|
|