|
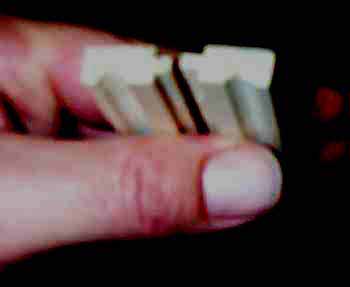
Here is a detailed step-by-step description of the process I use to make little box wooden pulls like the ones on my live edge cabinet. These pulls are my typical style and require only a table saw and router to make, along with some filing / sanding paitence. A router table would be helpful but not necessary. After stumbling along for a while making these, I have finally settled on the following 'process' to make them quickly and safely ... 1. Decide on the width (dimension from the drawer front to outer edge of the pull) and thickness you want. Prepare some stock to flat and square of that thickness (I use somewhere less than 3/8" usually) and at least 2 times the width plus 3/8" extra. Length of the blank should be enough to cut out as many pulls as you need, plus some spares. What you are doing in this step is making a blank that will eventually become TWO strips of pulls. 2. Machine the tenons into the blank. On your table saw, mount a rip blade (or any other flat tooth profile blade) and set your rip fence so that the blade cuts down the appx centerline of your blank. Set the blade height for a shallow cut and take one pass. Flip the blank over, keeping the same edge against the fence, and take a pass on the opposite side. You now have a kerf wide 'tenon' down the appx center of your blank. Measure the thickness of this tenon and adjust your depth of cut to begin approaching 1/8" final tenon thickness. Keep making shallow cuts, flipping the blank over each time, until you are satisfied the tenon thickness is proper. Note: I eventuall install these pulls into a mortise cut with a 1/8" spiral bit, so I aim for a tenon thickness of 0.120". Now, expand the tenon width by moving your fence over slightly and making more cuts. If you alternate placing the opposite edges of your blank against the fence every pass, you will of course end up with a tenon that is exactly centered on your blank. Do this until your tenon is appx 3/8" wide (that's the extra 3/8" you needed in your blank width from step #1). 3. Machine the finger grabs with your router. I use my router table, but this can also be safely done with a handheld router and edge guide. I use a 1/4" diameter round nose bit to form the recess on the pulls. Set the bit depth to about 1/4 of your material thickness and locate the cut to leave 1/8" to 1/4" of stock towards the front of the pulls. On some pulls, I make this cut on both sides, on others just one side. 4. Seperate the blank into two strips. On your tablesaw rip the blank down the centerline to end up with two seperate but identical strips of pull material. Each should have a 1/8" thick by 1/8" wide tenon left. Here is a photo of what you should have after this step ..... |
|
These pulls are in Ash, and have the finger grab on one side only. 5. Cut the strips into individual pulls, at whatever length you fancy, on your tablesaw. 6. Now, use your imagination and some sandpaper to give final shape to the pulls. For the purpleheart pulls on my latest cabinet, I used a round file to carry the finger grab shape around the end grain, giving a kind of 'mushroom' head effect, and rounded all the edges with sandpaper. Do whatever looks right to your eye. That's it .... quick and easy to do, and with this simple process you can make pulls in any shape you want out of any wood you choose ... a wonderful skill addition to anybody's box of talents. Have fun. Knipfer |

