|
|
Sascha, 04-07-2004 09:59 PM
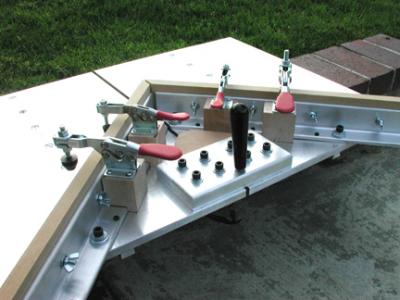
Ok, here are a few more pics of the jig.
It's all made by me...
The main components are two pieces of cast aluminum about 15" by 20", 2
pieces of aluminum angle, mitered on one side on the chop saw.
One piece of aluminum about 4x8 inches to connect the 2 plates very solid,
2 aluminum runners about 20 inches long. You can get these parts at a metal
supply store.
You will need many machine screws, hex bolts and small screws to adjust the
fence to perfect 90 degrees to the plate and everything else you
want to attach, like MDF, handle blade guard and so forth.
It's up to you.
Since I know my biesemeyer fence is perfectly square to the blade, I used it
to align the metal plates.
You cannot get a true zero clearance in the plates, but that's what the MDF
fence faces are for anyway.
My base plates are about 1/32nd of an inch away from the blade.
Use you table saw fence to align one plate, clamp it to the table and mount
the runner.
I started with the left plate.
Once that is done, raise the blade and put a thin piece of paper or similar
and align the right plate, clamp down and attach runners.
Then use the 4" X 8" aluminum piece and drill and tap to connect
the 2 plates.
After that is done, drill holes for the fences and align each side to a
perfect 45 to the blade.
Drill holes in fence a little oversize so you can adjust if necessary.
Everything on my jig can be adjusted, the results are amazing.
This piece is so solid and heavy, great for cutting any wood.
It won't twist or move.
Finally, I taped some 3 inch slick tape to the bottom so it glides easier.
But a little WD40 would do as well.
I had no plan to make this jig, but besides drilling, tapping and
calibrating this is the best thing I have built for my shop.
I changed things as the jig progressed, the handle and the clamps help so
much, you'll see.
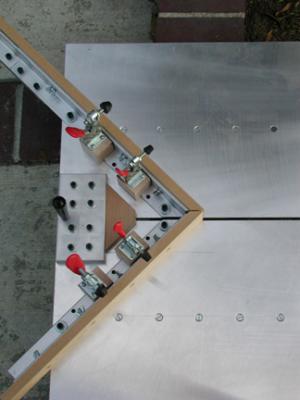
Just don't think that "90 degree" angle is always "90 degrees", the little
black screws you see on the inside of the fence helped me to correct if needed.
Have fun and build this piece, you'll see how easy it is.
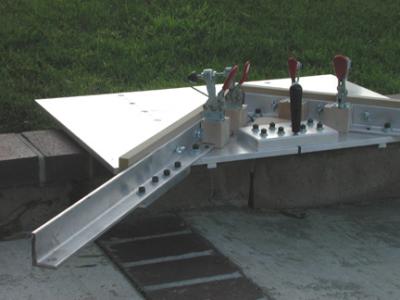
...more pics...

...here with extension on the left side...
...the last one...
Sascha
 
This site is maintained by:
Good-Lyddon Data Systems
Copyright © 2004-2007 Joe Lyddon, WoodWorkStuff.net
|
|